1.3: III. Developing Central Ideas Based on Evidence
- Page ID
- 15103
\( \newcommand{\vecs}[1]{\overset { \scriptstyle \rightharpoonup} {\mathbf{#1}} } \)
\( \newcommand{\vecd}[1]{\overset{-\!-\!\rightharpoonup}{\vphantom{a}\smash {#1}}} \)
\( \newcommand{\id}{\mathrm{id}}\) \( \newcommand{\Span}{\mathrm{span}}\)
( \newcommand{\kernel}{\mathrm{null}\,}\) \( \newcommand{\range}{\mathrm{range}\,}\)
\( \newcommand{\RealPart}{\mathrm{Re}}\) \( \newcommand{\ImaginaryPart}{\mathrm{Im}}\)
\( \newcommand{\Argument}{\mathrm{Arg}}\) \( \newcommand{\norm}[1]{\| #1 \|}\)
\( \newcommand{\inner}[2]{\langle #1, #2 \rangle}\)
\( \newcommand{\Span}{\mathrm{span}}\)
\( \newcommand{\id}{\mathrm{id}}\)
\( \newcommand{\Span}{\mathrm{span}}\)
\( \newcommand{\kernel}{\mathrm{null}\,}\)
\( \newcommand{\range}{\mathrm{range}\,}\)
\( \newcommand{\RealPart}{\mathrm{Re}}\)
\( \newcommand{\ImaginaryPart}{\mathrm{Im}}\)
\( \newcommand{\Argument}{\mathrm{Arg}}\)
\( \newcommand{\norm}[1]{\| #1 \|}\)
\( \newcommand{\inner}[2]{\langle #1, #2 \rangle}\)
\( \newcommand{\Span}{\mathrm{span}}\) \( \newcommand{\AA}{\unicode[.8,0]{x212B}}\)
\( \newcommand{\vectorA}[1]{\vec{#1}} % arrow\)
\( \newcommand{\vectorAt}[1]{\vec{\text{#1}}} % arrow\)
\( \newcommand{\vectorB}[1]{\overset { \scriptstyle \rightharpoonup} {\mathbf{#1}} } \)
\( \newcommand{\vectorC}[1]{\textbf{#1}} \)
\( \newcommand{\vectorD}[1]{\overrightarrow{#1}} \)
\( \newcommand{\vectorDt}[1]{\overrightarrow{\text{#1}}} \)
\( \newcommand{\vectE}[1]{\overset{-\!-\!\rightharpoonup}{\vphantom{a}\smash{\mathbf {#1}}}} \)
\( \newcommand{\vecs}[1]{\overset { \scriptstyle \rightharpoonup} {\mathbf{#1}} } \)
\( \newcommand{\vecd}[1]{\overset{-\!-\!\rightharpoonup}{\vphantom{a}\smash {#1}}} \)
\(\newcommand{\avec}{\mathbf a}\) \(\newcommand{\bvec}{\mathbf b}\) \(\newcommand{\cvec}{\mathbf c}\) \(\newcommand{\dvec}{\mathbf d}\) \(\newcommand{\dtil}{\widetilde{\mathbf d}}\) \(\newcommand{\evec}{\mathbf e}\) \(\newcommand{\fvec}{\mathbf f}\) \(\newcommand{\nvec}{\mathbf n}\) \(\newcommand{\pvec}{\mathbf p}\) \(\newcommand{\qvec}{\mathbf q}\) \(\newcommand{\svec}{\mathbf s}\) \(\newcommand{\tvec}{\mathbf t}\) \(\newcommand{\uvec}{\mathbf u}\) \(\newcommand{\vvec}{\mathbf v}\) \(\newcommand{\wvec}{\mathbf w}\) \(\newcommand{\xvec}{\mathbf x}\) \(\newcommand{\yvec}{\mathbf y}\) \(\newcommand{\zvec}{\mathbf z}\) \(\newcommand{\rvec}{\mathbf r}\) \(\newcommand{\mvec}{\mathbf m}\) \(\newcommand{\zerovec}{\mathbf 0}\) \(\newcommand{\onevec}{\mathbf 1}\) \(\newcommand{\real}{\mathbb R}\) \(\newcommand{\twovec}[2]{\left[\begin{array}{r}#1 \\ #2 \end{array}\right]}\) \(\newcommand{\ctwovec}[2]{\left[\begin{array}{c}#1 \\ #2 \end{array}\right]}\) \(\newcommand{\threevec}[3]{\left[\begin{array}{r}#1 \\ #2 \\ #3 \end{array}\right]}\) \(\newcommand{\cthreevec}[3]{\left[\begin{array}{c}#1 \\ #2 \\ #3 \end{array}\right]}\) \(\newcommand{\fourvec}[4]{\left[\begin{array}{r}#1 \\ #2 \\ #3 \\ #4 \end{array}\right]}\) \(\newcommand{\cfourvec}[4]{\left[\begin{array}{c}#1 \\ #2 \\ #3 \\ #4 \end{array}\right]}\) \(\newcommand{\fivevec}[5]{\left[\begin{array}{r}#1 \\ #2 \\ #3 \\ #4 \\ #5 \\ \end{array}\right]}\) \(\newcommand{\cfivevec}[5]{\left[\begin{array}{c}#1 \\ #2 \\ #3 \\ #4 \\ #5 \\ \end{array}\right]}\) \(\newcommand{\mattwo}[4]{\left[\begin{array}{rr}#1 \amp #2 \\ #3 \amp #4 \\ \end{array}\right]}\) \(\newcommand{\laspan}[1]{\text{Span}\{#1\}}\) \(\newcommand{\bcal}{\cal B}\) \(\newcommand{\ccal}{\cal C}\) \(\newcommand{\scal}{\cal S}\) \(\newcommand{\wcal}{\cal W}\) \(\newcommand{\ecal}{\cal E}\) \(\newcommand{\coords}[2]{\left\{#1\right\}_{#2}}\) \(\newcommand{\gray}[1]{\color{gray}{#1}}\) \(\newcommand{\lgray}[1]{\color{lightgray}{#1}}\) \(\newcommand{\rank}{\operatorname{rank}}\) \(\newcommand{\row}{\text{Row}}\) \(\newcommand{\col}{\text{Col}}\) \(\renewcommand{\row}{\text{Row}}\) \(\newcommand{\nul}{\text{Nul}}\) \(\newcommand{\var}{\text{Var}}\) \(\newcommand{\corr}{\text{corr}}\) \(\newcommand{\len}[1]{\left|#1\right|}\) \(\newcommand{\bbar}{\overline{\bvec}}\) \(\newcommand{\bhat}{\widehat{\bvec}}\) \(\newcommand{\bperp}{\bvec^\perp}\) \(\newcommand{\xhat}{\widehat{\xvec}}\) \(\newcommand{\vhat}{\widehat{\vvec}}\) \(\newcommand{\uhat}{\widehat{\uvec}}\) \(\newcommand{\what}{\widehat{\wvec}}\) \(\newcommand{\Sighat}{\widehat{\Sigma}}\) \(\newcommand{\lt}{<}\) \(\newcommand{\gt}{>}\) \(\newcommand{\amp}{&}\) \(\definecolor{fillinmathshade}{gray}{0.9}\)3
III. Developing Central Ideas Based on Evidence
Emily van Zee and Elizabeth Gire
In this section, you will be developing some central ideas about the nature of light by playing with light and shadows. Keeping track of what you are doing and thinking is important.
A. Documenting your explorations
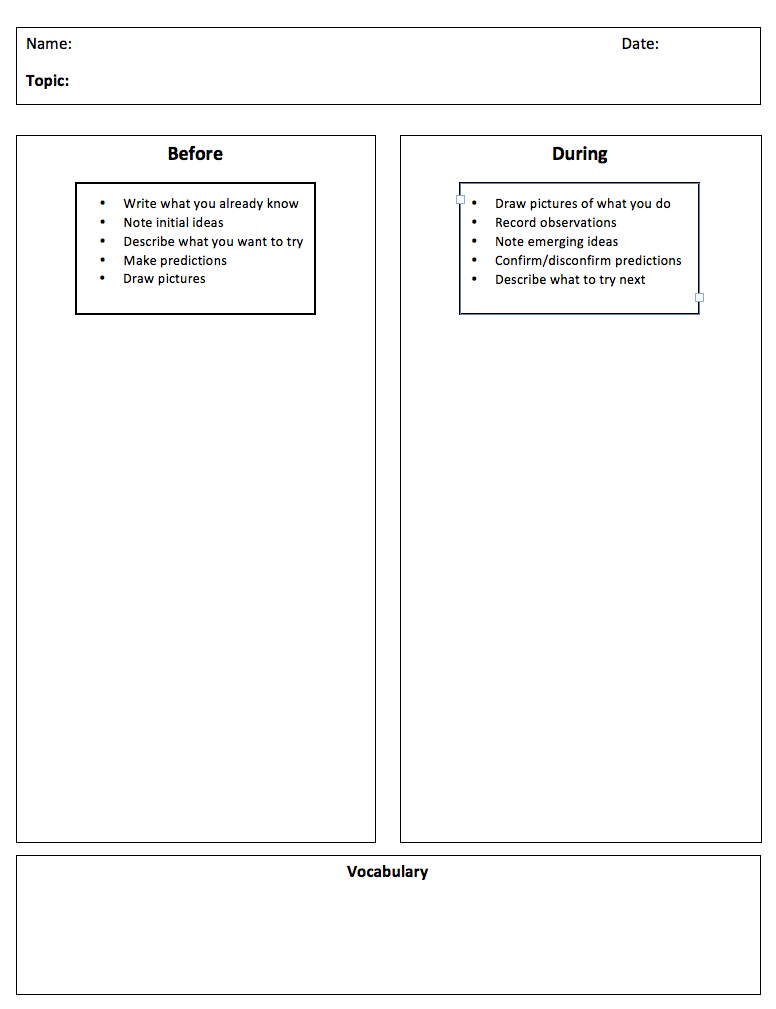
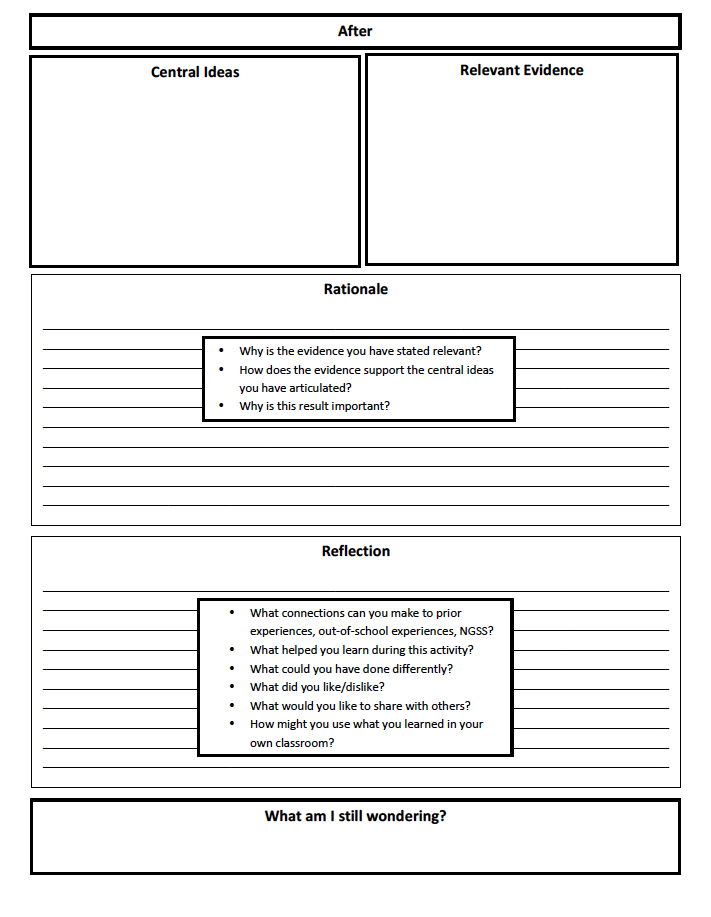
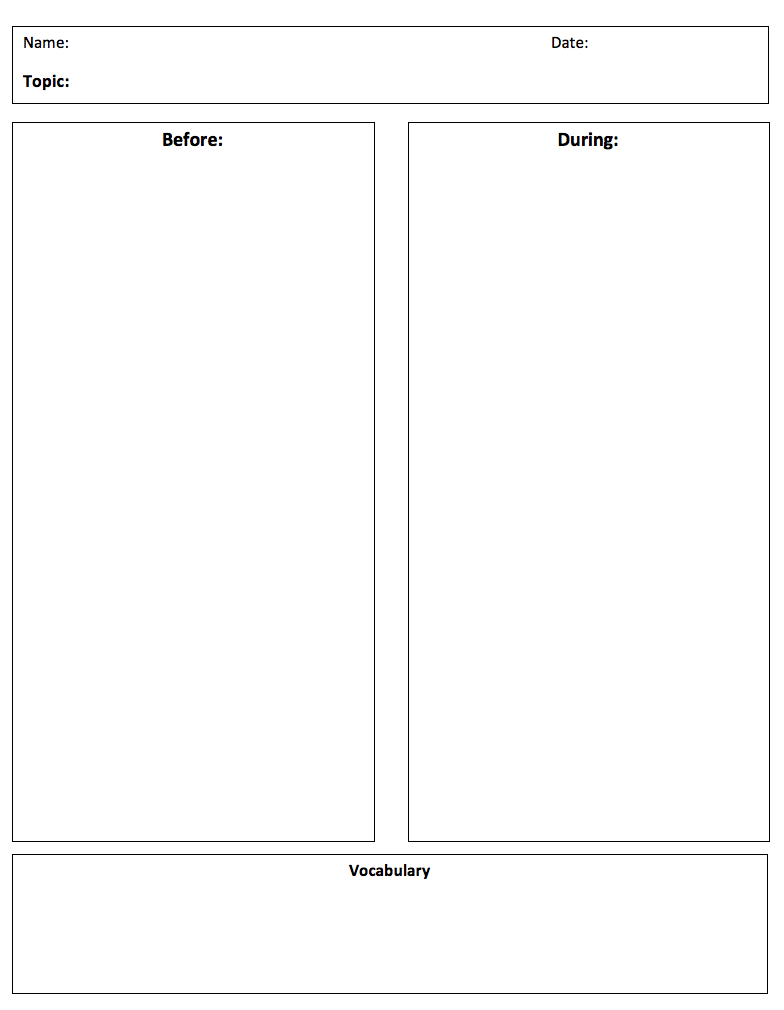
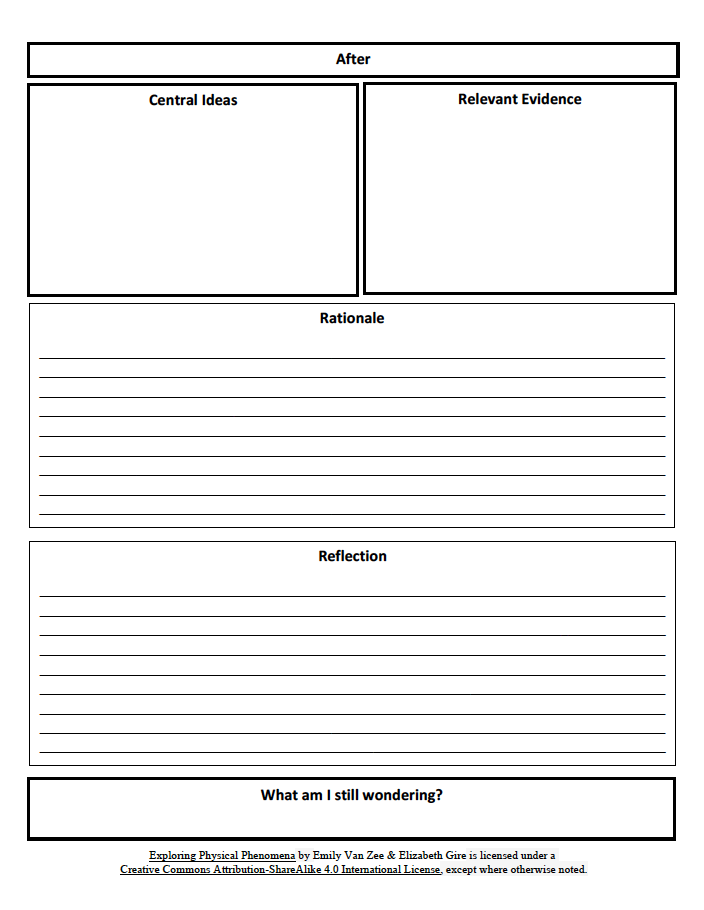
One way to document what you are doing and thinking is to write an on-going record in a science notebook. The physics notebook page shown in Figures 1.3 and 1.4, for example, can help you remember your thoughts before, during, and after an exploration. First view the front of the physics notebook page:
Topic: What are you exploring?
Before column. Before starting your exploration, discuss with your group members what you already know about this topic, what ideas you have, what questions you are asking, how you plan to conduct the exploration, and what you think you might find out. Record these briefly in the “Before” column along with any relevant drawings.
During column. During your exploration, record what is happening and what you are thinking about what you are observing. Include sketches of equipment and observations. Indicate whether you confirm or disconfirm your predictions and what these findings suggest for next steps.
Vocabulary. Note any words that are new and their definitions.
Then view the back of the physics notebook page:
After: Central Ideas. After your exploration, record any central ideas that have emerged from your observations and discussions.
After: Evidence. Also note the relevant evidence on which you have based these ideas.
After: Rationale. State explicitly how the evidence is relevant and supports the claim you are making in stating the central ideas. Also note why this result is important.
After: Reflection. Then write a reflection about whatever you want to remember about this experience – perhaps what you have done and learned, how you learned this, and what implications this experience might have for teaching this topic in your own classroom…
After: Wonderings. In addition, briefly state what you are still wondering at this point.
Adam Devitt designed these notebook pages when he was assisting in this course. He was a special education elementary school teacher enrolled in a graduate program in science education. He based his design of these physics notebook pages on “before, during, and after” reading strategies that enhance literacy learning. Some of the entries have been slightly modified.
B. Exploring the nature of light phenomena
Asking questions is an important aspect of doing science. Question 1.3 is a “what happens…” question:
Question 1.3 What happens when light from a source shines on a screen?
Equipment: a light source in a dark room; a screen such as a large white board covered with a piece of chart paper
- Find a dark room in which to explore the nature of light such as a room with no windows or a room with windows that have dark shades to keep out daylight.
For a vertical screen, use a plain white wall or make one by taping a piece of chart paper on a whiteboard or large piece of cardboard that you can lean against a stool or box on a table.
For a light source, use a lamp without a shade, that has a clear unfrosted incandescent bulb or a frosted bulb with LEDs.*
(*Look at the inside of the incandescent bulb. The narrow wire inside the bulb is called its filament. The filament is made out of a metal that glows when electricity flows through the lamp. LEDs (light emitting diodes) emit light by a different process that requires much less energy. LEDs have been marketed in a frosted bulb to imitate light from incandescent bulbs.)
- Place the lamp near the screen. Figure 1.5 illustrates the set-up.
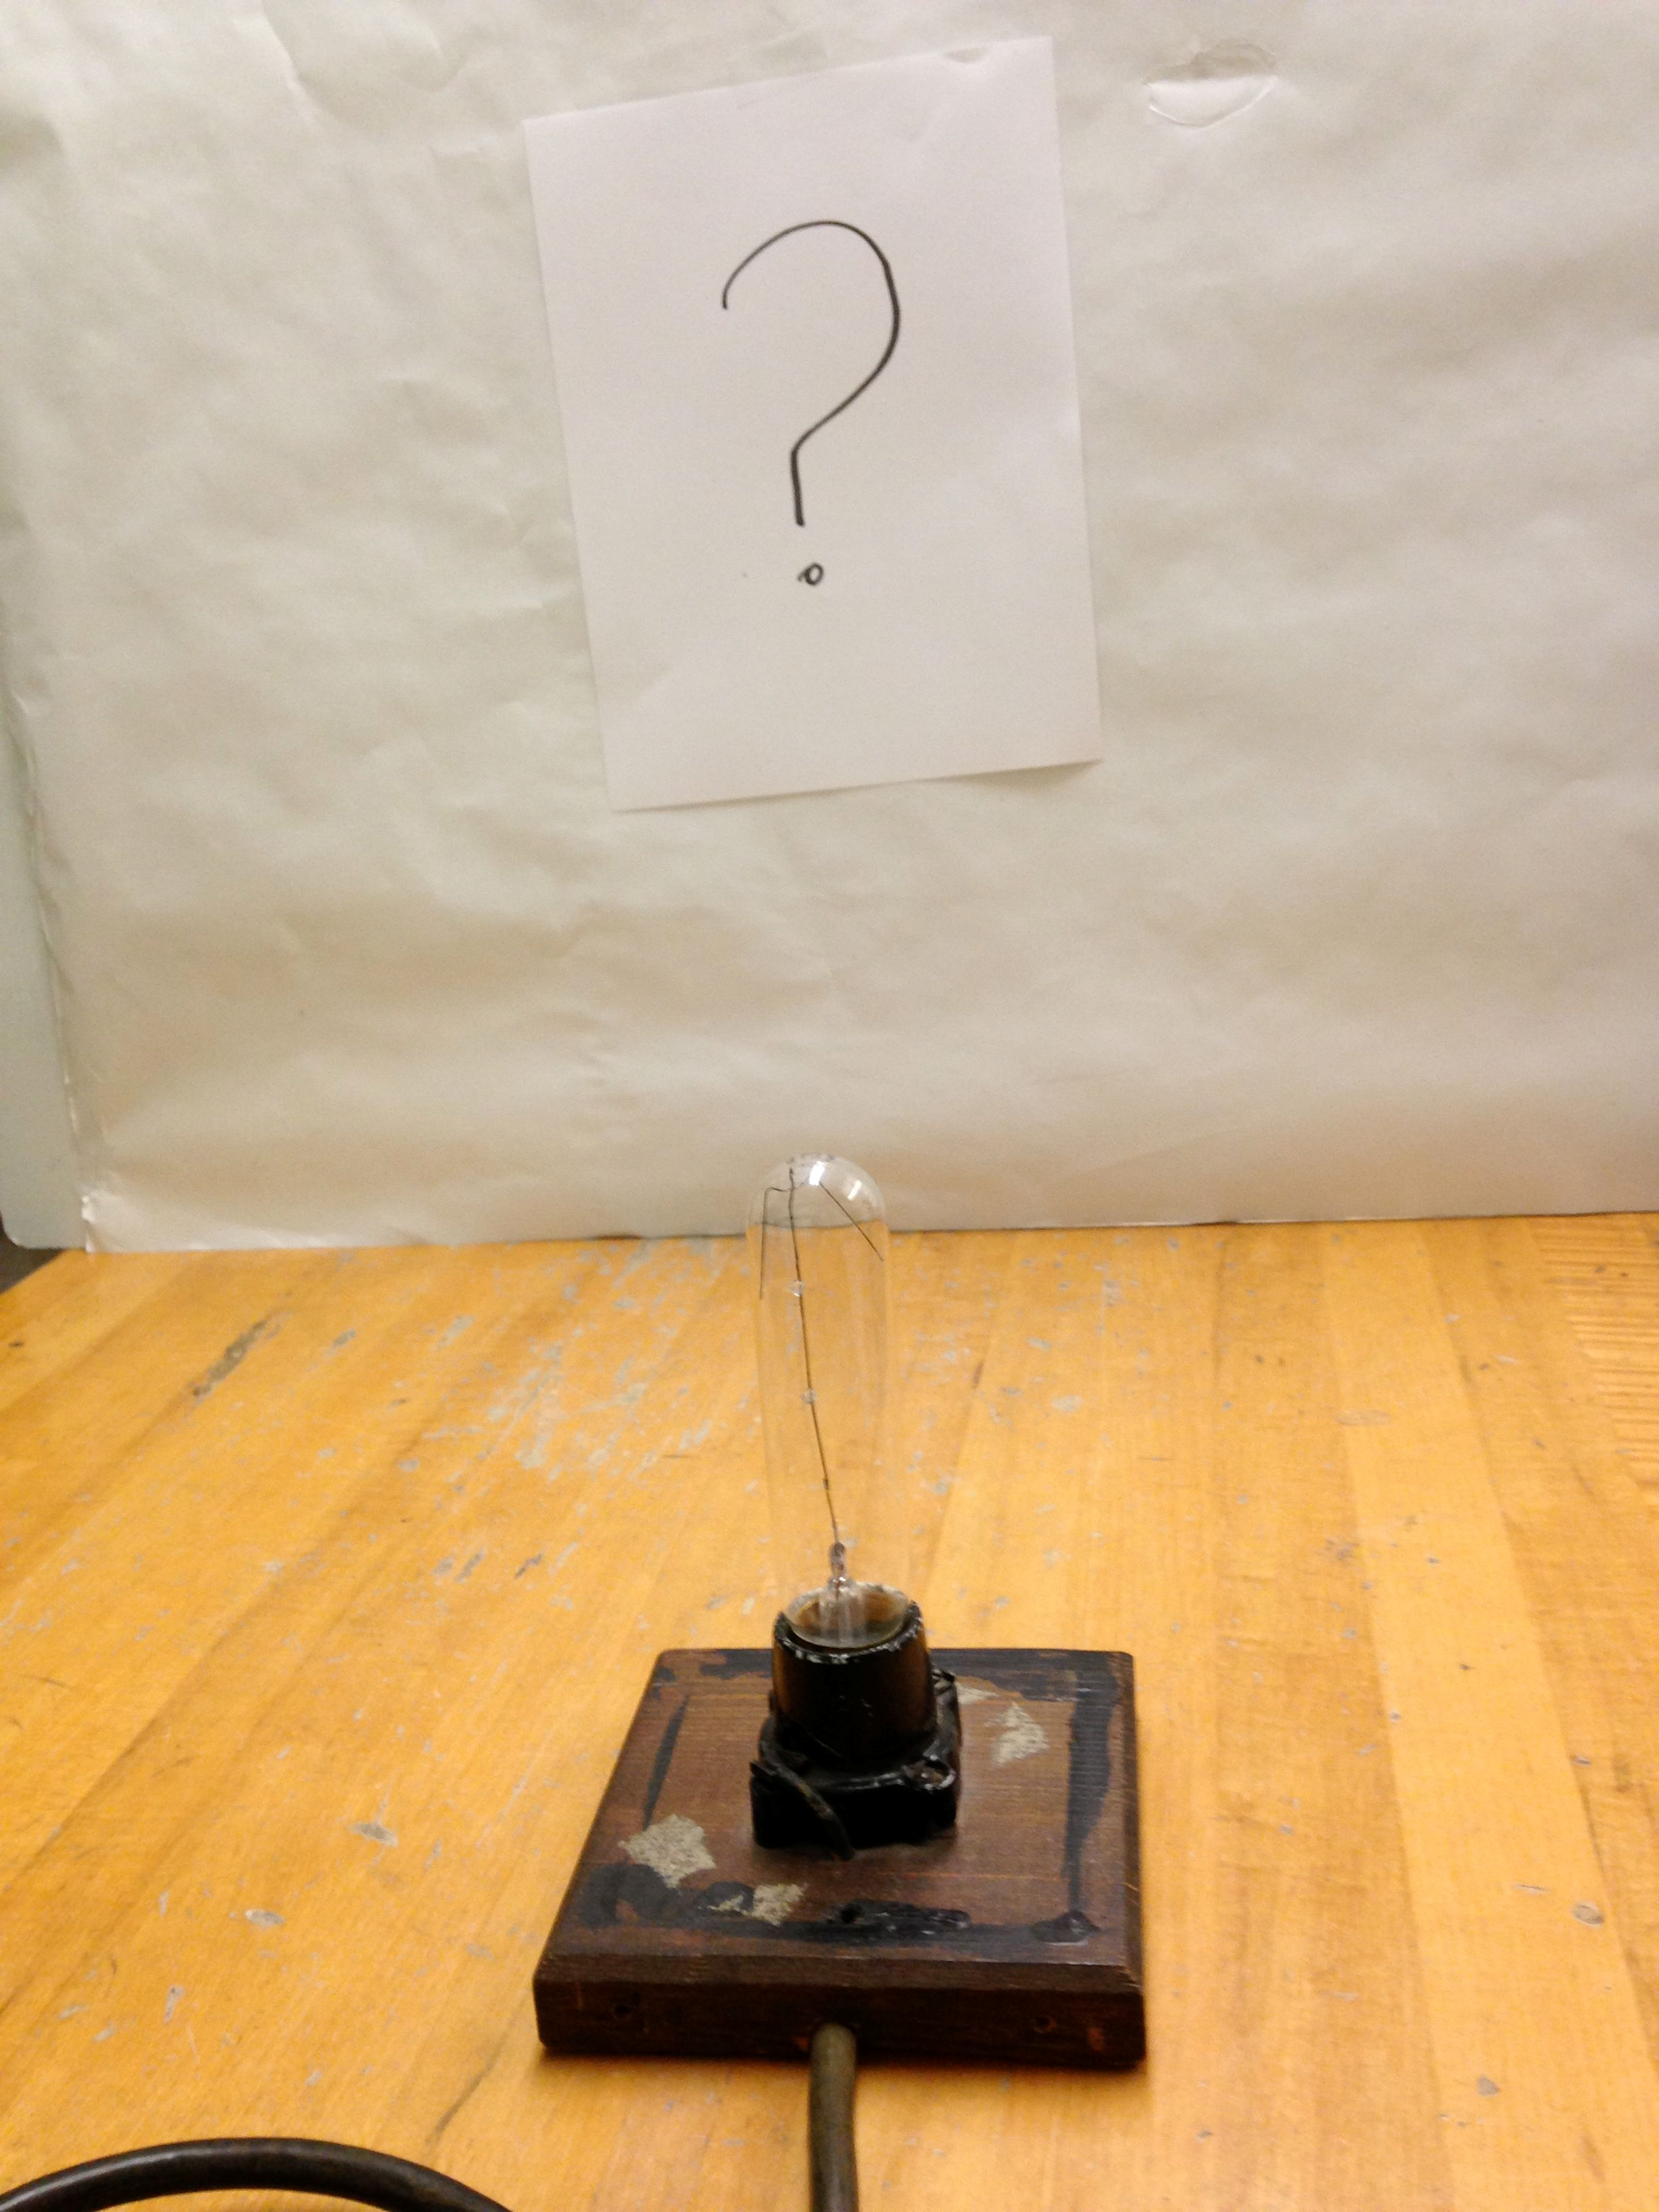
- What will you see on the screen?
- Talk with your group members about what you think and why you think that.
- Begin to keep track of what you are doing: At the top of your physics notebook page, record the Topic of this exploration.
- Under Before, draw a picture of the set up. What do you predict will happen? Why do you predict this will happen?
- Turn on the light bulb in the dark room: what do you see on the screen?
- Under the During section of your physics notebook page, record what you see and interpret these results.
- Discuss your findings and formulate a relevant central idea. In the After section of the physics notebook page, report this idea and the evidence on which it is based.
- Use this physics notebook page and additional pages as needed to keep track of what you are doing and thinking during a series of related explorations.
In summarizing this exploration, a student noted, for example:
The demonstration started with a vertical light bulb being placed in front of a white piece of paper. We made predictions about what we thought would happen when the light was turned on in a dark room and I thought that the light would make a circle on the white paper, which gets dimmer as the circle gets bigger.
Some students predict that they would see light in the shape of the filament on the screen. A student reported:
When a lamp is turned on in a dark room, light from the lamp shines on a screen. If the light source is a clear incandescent bulb, the light on the screen is not limited to the shape of the filament. The area of the screen directly in front of the lamp may appear brighter than areas of the screen farther away from the lamp, but all of the screen is lit. In addition, light from the lamp shines on the ceiling and the other walls of the room, as well as on the faces of those looking at the lamp and screen.
This suggests a central idea, that light leaves a source in all directions. A student may note, however, that light leaves lasers in a particular direction. A further refinement involves pondering the use of all, whether one can be sure that light leaves a source in every direction. This suggests that light leaves most light sources in many directions.
Have you ever used your fingers to make shadow shapes when playing with a flashlight in a dark room? Question 1.4 poses another “what happens?” question.
Question 1.4 What happens when you place a barrier between a lamp and screen?
Equipment: Find a barrier of some kind to add to your set up. This can be a card or a book that can stand up on its edge or even just fingers on your hand.
- Predict what you will see when you place the barrier between the lamp and screen as shown in Fig. 1.6.
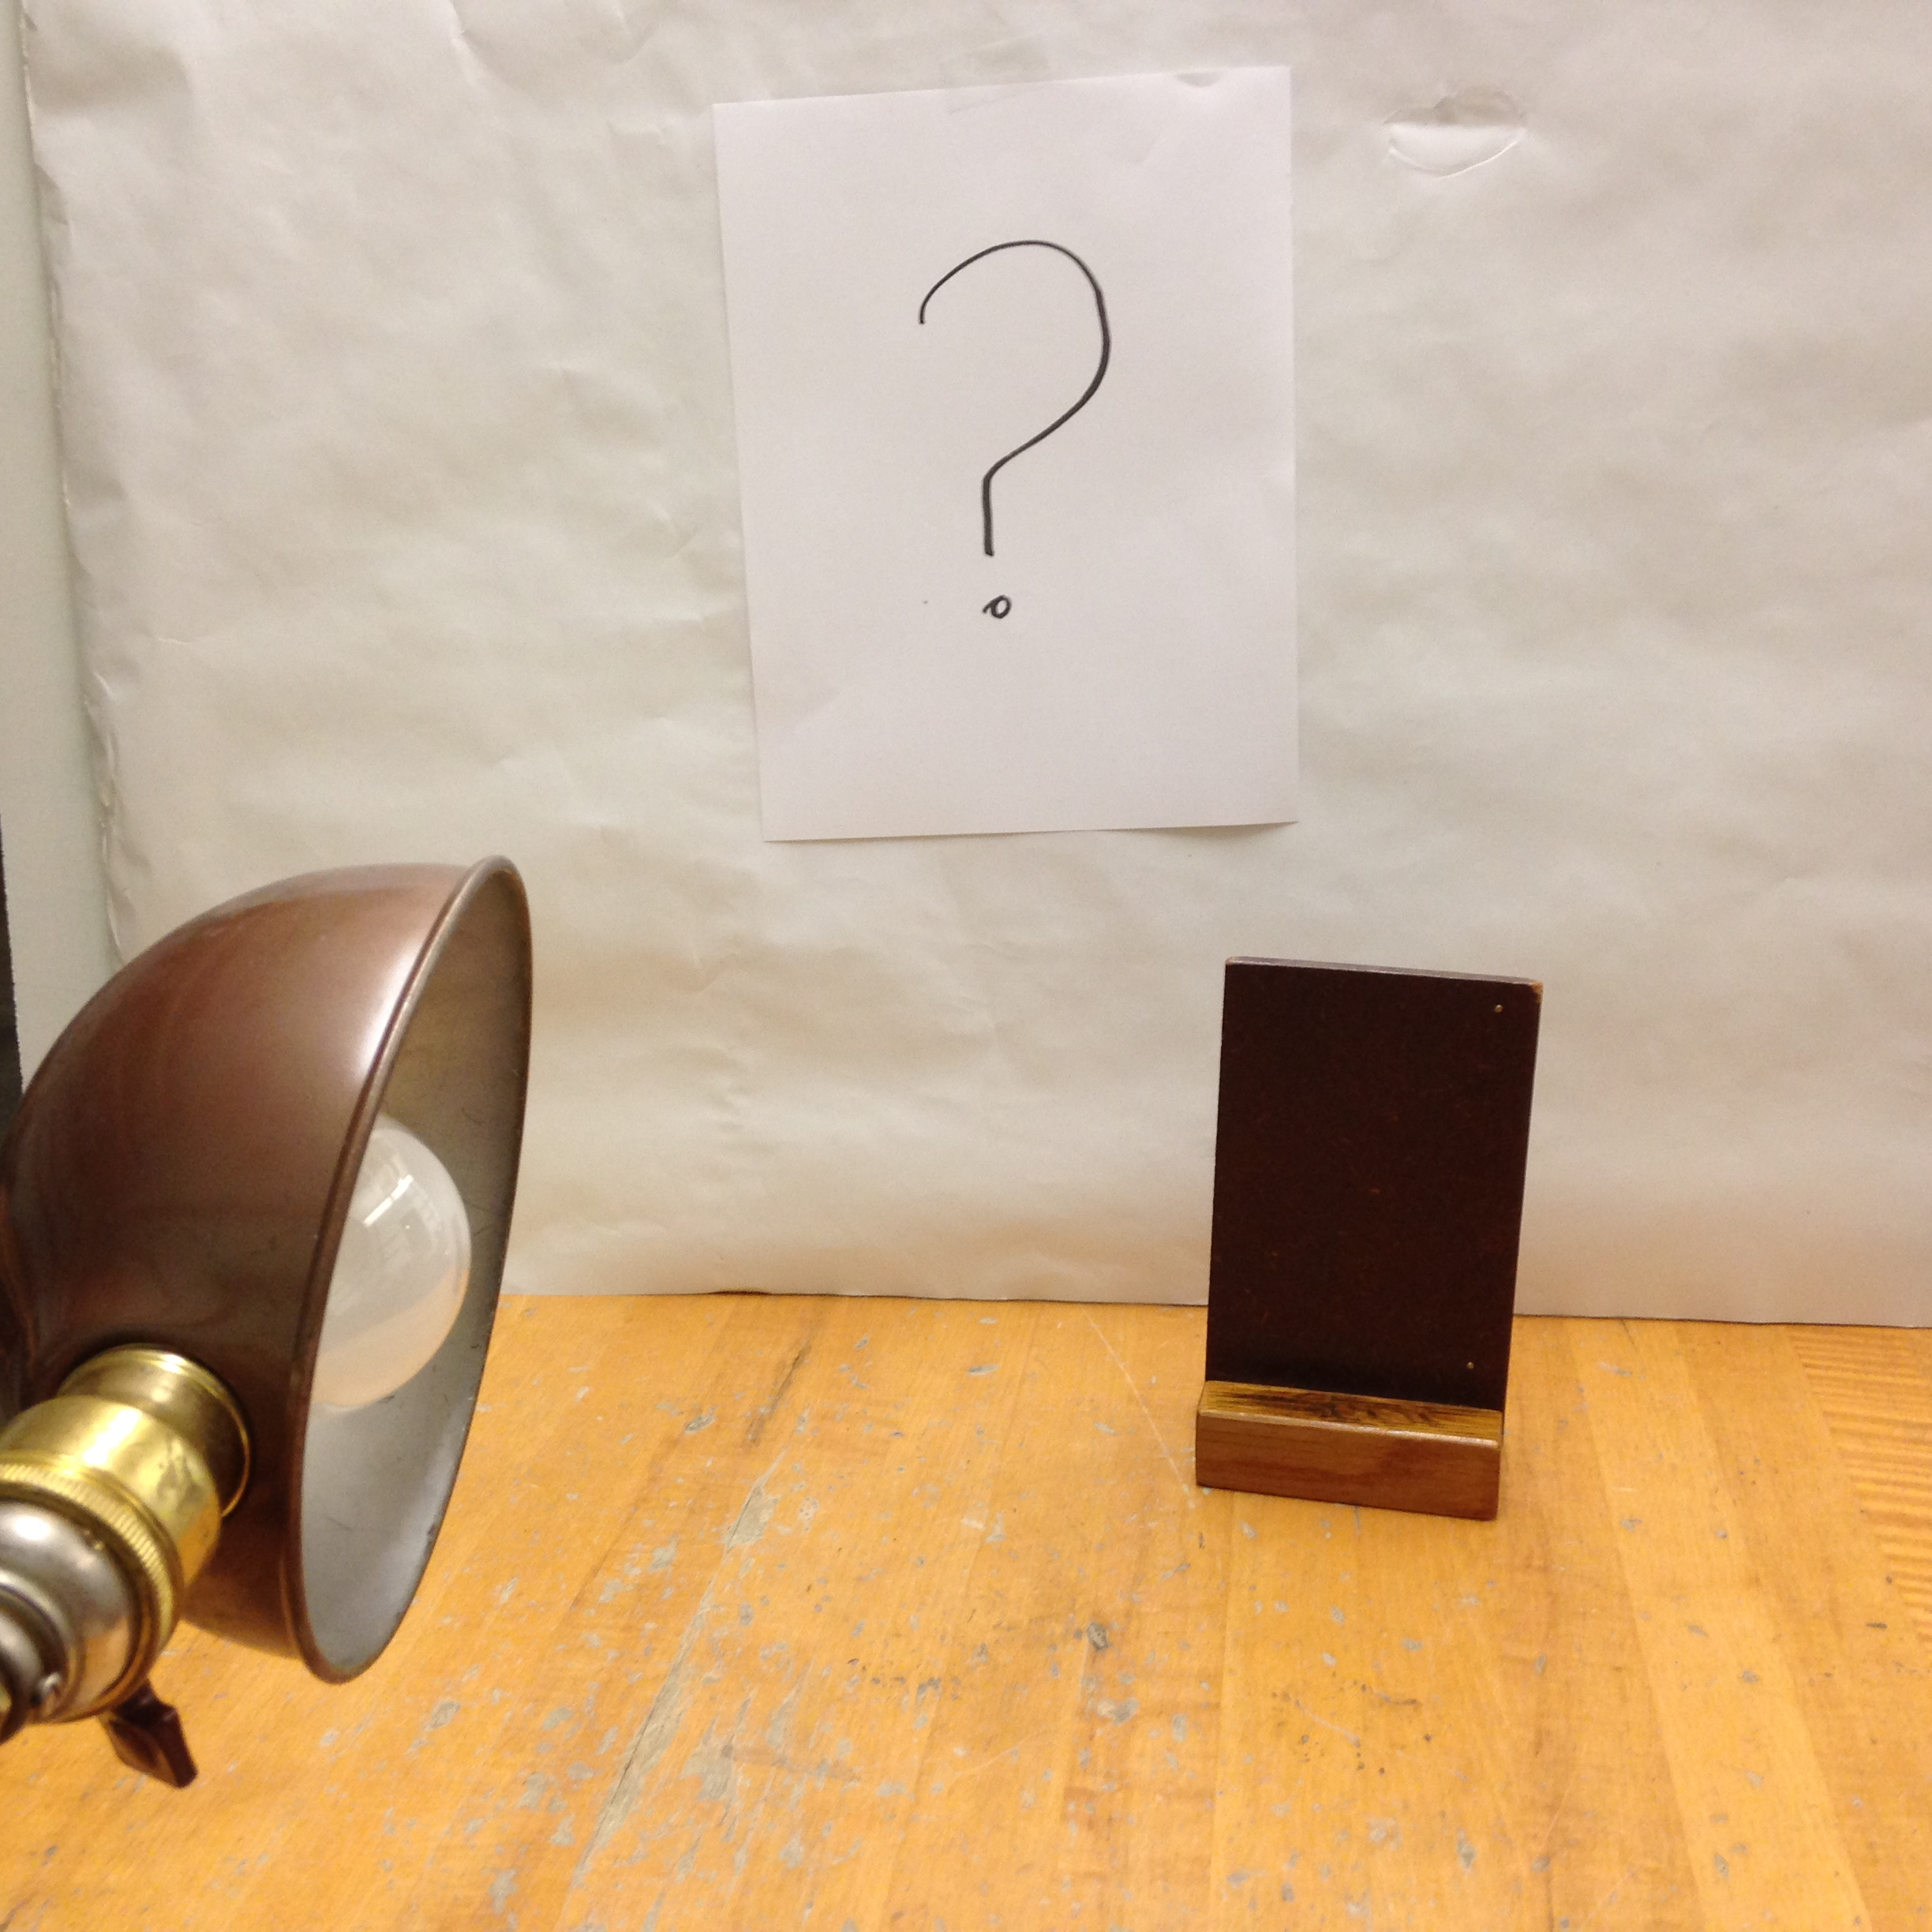
- Place a barrier between a lamp and a screen: What do you see on the screen?
- Try a variety of ways of placing the barrier with respect to the lamp and screen. Making different shadows with a barrier can be a lot of fun! What do you observe?
Another kind of question asks “how” something is happening:
Question 1.5 How does light seem to travel from a source to a screen?
A meter stick or yard stick is a useful tool to explore how light travels from one place to another:
- Use a straight stick such as a meter stick or yard stick to explore how light gets from the lamp past the barrier to the edge of a shadow on the screen.
- Keep talking and refining ideas until your group and the other groups reach a consensus on several central ideas about light and shadows based on this exploration.
For example, here is what one student reported seeing:
We had a white piece of paper against the wall with the bottom of the paper touching the table. There was a light bulb set up to shine light toward the paper. There was a wooden block set up in front of the white paper and when the light bulb shined upon the block, the light was obstructed and as a result a shadow of the block was produced on the screen.
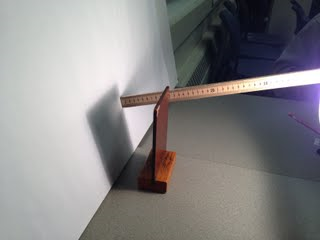
We placed one end of a meter stick on the side of the light bulb; then we placed the meter stick against the edge of the wooden block and finally placed the opposite end of the meter stick against the white paper.
We observed that the edge of the shadow, the edge of the wooden block, and the side of the light source all lined up in a straight line.
This suggests that light can be envisioned as rays traveling in straight lines.
Figure 1.7 shows an example of using a straight stick as a physical model for how light can be envisioned as rays traveling in a straight line from a light source past the edge of a barrier to the edge of a shadow on a screen.
Looking closely at a lamp and barrier setup suggests Question 1.6, a “how many?” question:
Question 1.6 How many shadows are there when a light source shines on a barrier and screen?
- Look at both sides of the barrier as well as at the screen.
- Keep talking and refining ideas until your group and the other groups reach a consensus about how many shadows there are when a light source shines on a barrier in front of a screen.
Here is what one student reported:
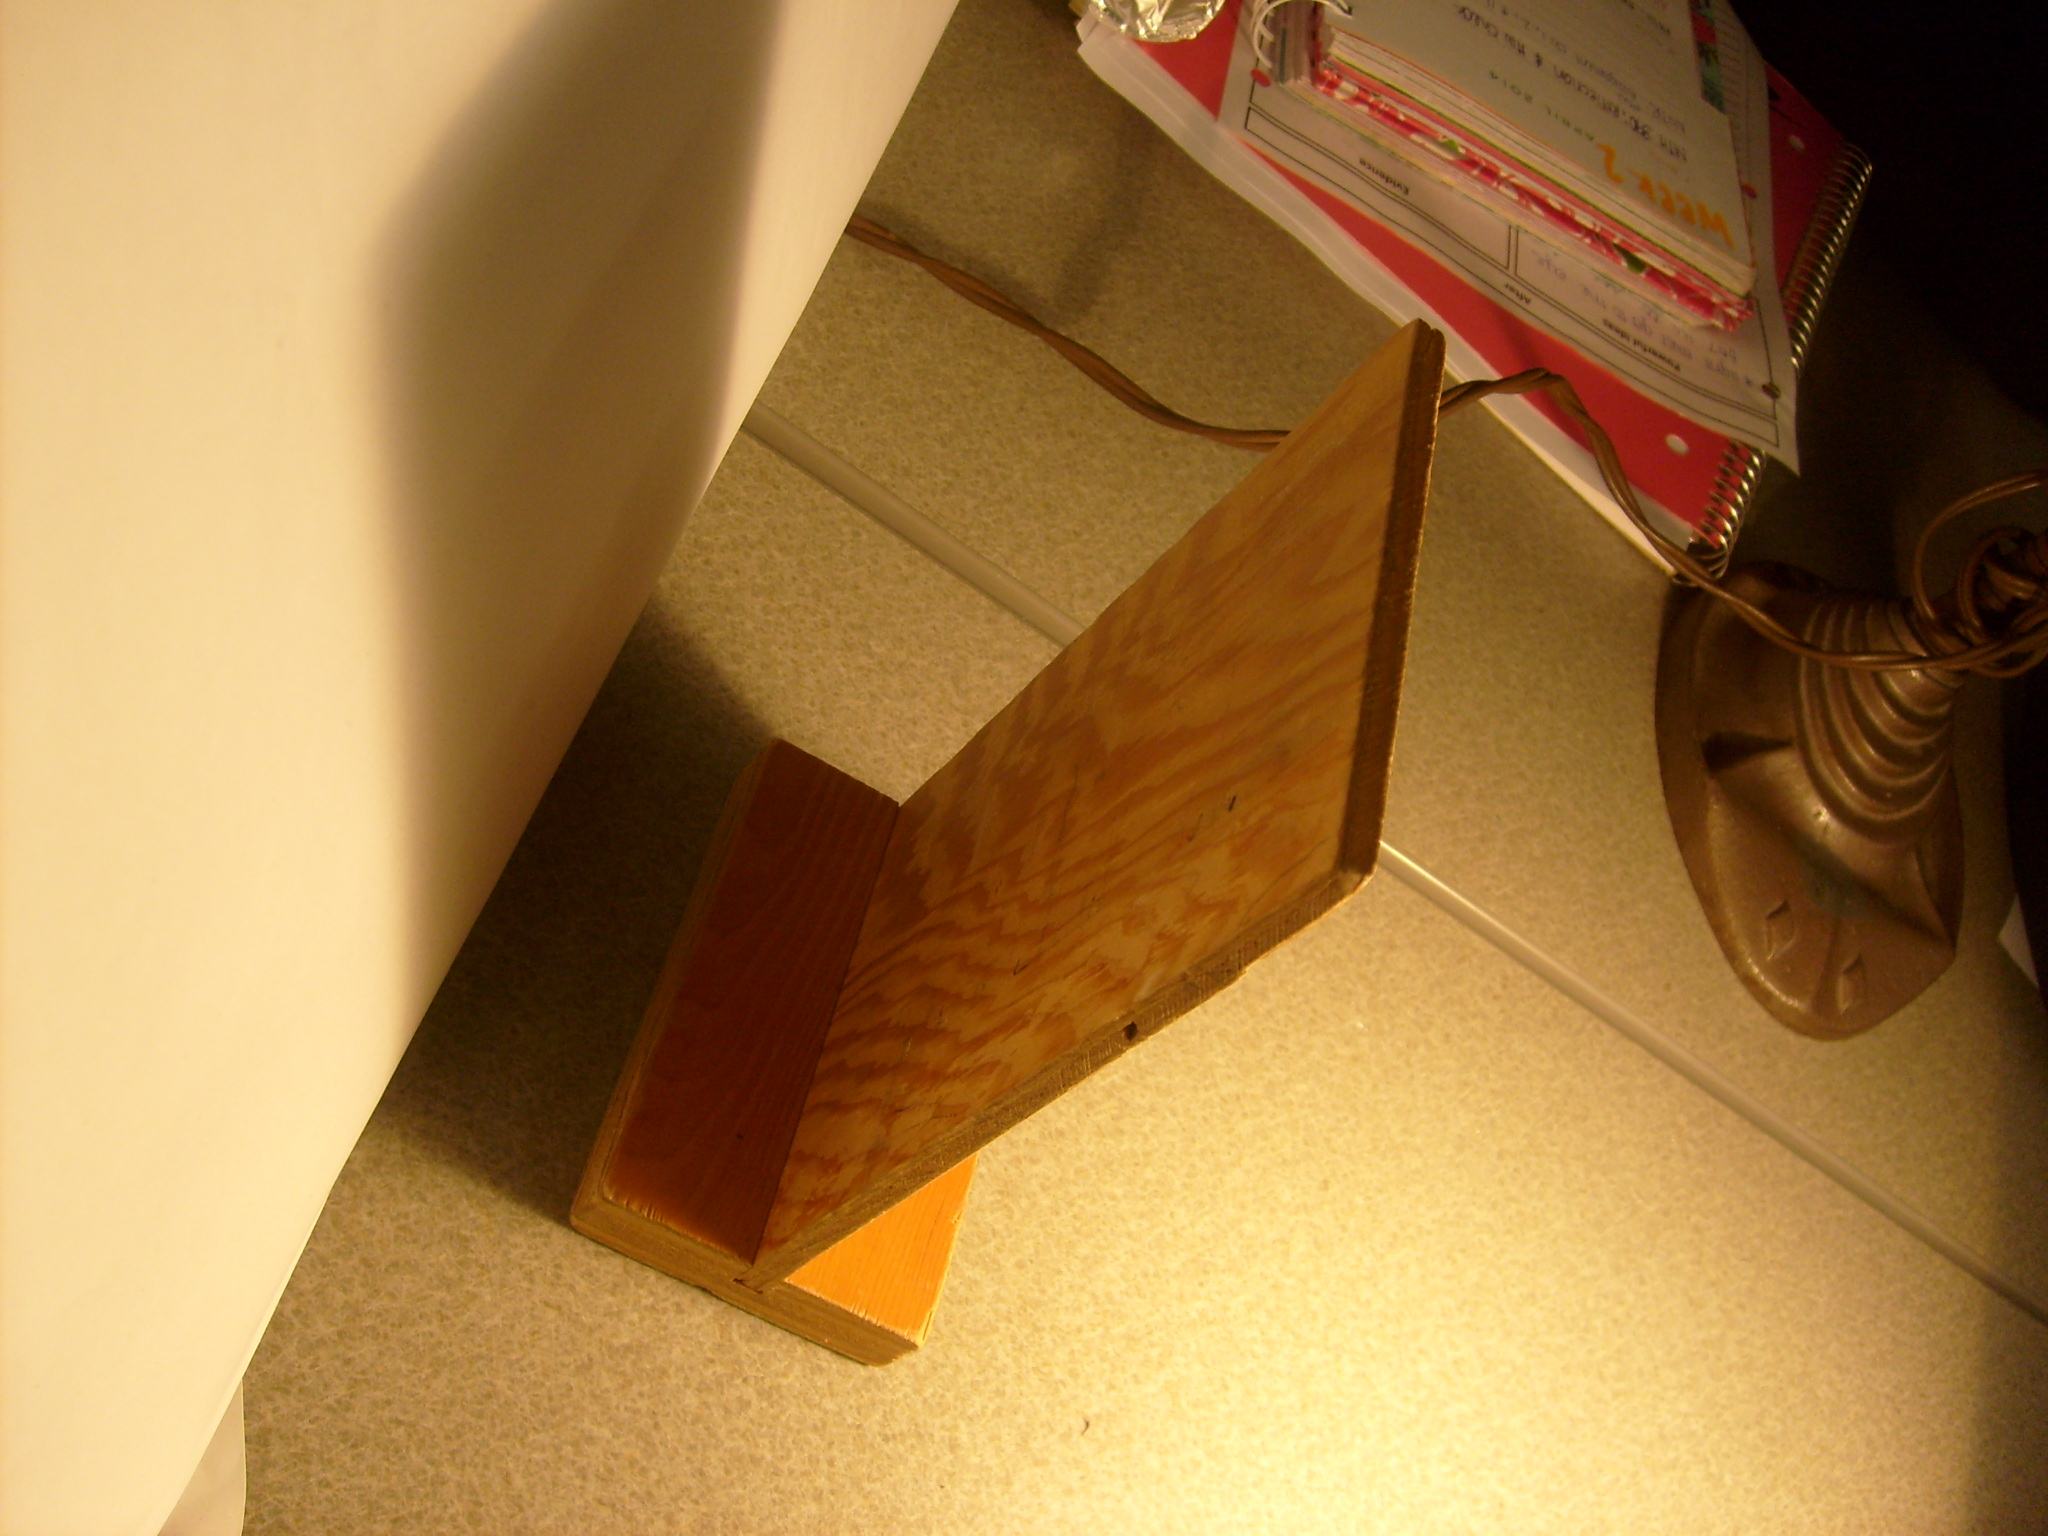
The first shadow that I observed was one on the white piece of paper. When an object was placed in front of a white piece of paper with a light shining on it, the object’s shadow was seen on the nearby piece of paper. The second shadow that I observed was on the back side of the object. The back side of the object…was dark and had a shadow on itself.
Physics Student, Spring 2016
This suggests another central idea about light and shadow phenomena as shown in Fig 1.8: There are two kinds of shadows: An object blocks light a) from shining on a nearby surface (ground, table, wall, screen) and b) from shining on the back side of the object itself.
A student supported this idea as follows:
An argument based on evidence to support this idea is that a shadow was seen on the piece of paper, which is the object blocking light from hitting the nearby surface, and a shadow was seen on the back side of the object which was the object blocking light from hitting the backside of itself, which shows that there are two different kinds of shadows created by an object.
Physics Student, Spring 2016
Question 1.7 introduces an open-ended question that invites you to explore additional light and shadow phenomena by yourself, with a small group of colleagues, and/or with friends and family members:
Question 1.7 What can you find out about light and shadows with a lamp, barrier, and screen?
- Describe your explorations, evidence from your observations, central ideas about light and shadows that you infer from these explorations, the argument that supports those ideas and any relevant vocabulary.
- Reflect upon what you have learned and what you are still wondering.
- Write a summary of the central ideas based on evidence that emerged from the small group conversations and whole group discussion.
A useful way to organize outcomes from a series of explorations is to summarize them in a table as in Table I.1.
| TABLE I.1 Explorations of light phenomena | |||
|---|---|---|---|
| Description of Exploration |
Evidence Observed |
Central Ideas | Vocabulary |
| Light leaves most sources in many directions | |||
| Light can be envisioned as rays traveling in straight lines | |||
| There are two kinds of shadows: An object blocks light a) from shining on a nearby surface (ground, table, wall, screen…) and b) from shining on the back side of object itself |
|||
| * | |||
| * | |||
| * | |||
* Central idea(s) about light and shadows developed during exploration with group members and/or friend/family
During class, some groups decide to explore what happens when they move the barrier closer or farther from the light source. Others choose to move the light source. A whole group discussion of their findings suggests another central idea:
Changing the position of the barrier with respect to the lamp and/or the screen, changes the size, shape, and sharpness of the shadow on the screen.
This completes our initial exploration of the nature of light phenomena. Based on the evidence from your observations, summarize the central ideas that you have inferred about:
- How does light leave most light sources?
- How can light be envisioned as traveling from one place to another?
- What kinds of shadows form when light shines on an object?
- What influences the size, shape, and sharpness of a shadow on a screen?
These ideas form a conceptual model that you can use to explain interesting phenomena you observe during additional explorations.
After summarizing your explorations in class, enjoy some students’ reflections on teaching friends and children about light and shadows.
Question 1.8 What happens when exploring light and shadows with a friend or family member?
1. Examples of students’ explorations of light and shadows with friends and/or family members.
A student reported:
During this exploration my friend and I began by discussing the previous ideas. When talking about light and shadows, we began to talk about how when we were younger we could use light to create shadow puppets with our hands. We decided to get out a lamp, turn the lights off, and use the light to create shadows onto the ceiling. During this exploration we noticed how the closer our hands were to the light source the shadow of our hand on the ceiling was bigger, and when we moved our hands further from the light source our shadows would become smaller and more defined. During this exploration I learned that as the one teaching the concepts and ideas I can also be learning and exploring with my students, the activities can be guided by both the student and the teacher experiences.
Physics Student, Spring 2016
Another observed the following when exploring shadows with a friend:
When exploring shadows, my friend and I took a particular interest in the effects of having more than one light source when facing the barrier. Introducing a new light source from a new position in the room changes both the area and the position of the shadow that the barrier is making, depending on which way it is facing.
Physics Student, Fall 2015
One student chose to explore all of the set of central ideas we had developed in class with three children whom she babysat. This was more than expected but a delightful example of a prospective elementary school teacher gaining experience teaching what she had just learned herself in class. She chose to use the initial version of the first central idea with these young children. Her verbatim quotes provide an excellent window into what preschool and elementary age children know, think, and wonder about light:
While working on this project I enlisted the help of three girls that I babysit. The ages of these girls are as follows: Lucie-7, Ava-4, Ruby-4. The names of these girls have been changed for the purpose of this assignment and for other assignments in future. I had the girls explore with light and used their own words and findings to help them understand more about how and why light works.
– Light leaves a source in all directions.
For this idea the girls and I went to a room where I could close the door and there were no windows. I then placed a lamp with no lamp shade in the center of the room on a table and had each girl sit on her own bed in the room. I turned off the room light and asked the girls what they noticed about the light.
Lucie: “The light shines up and down, up towards the ceiling and down towards the ground so we can see both.”
Ava: “The light in the center is brighter than the top and bottom”
Me: “what do you mean by that Ava?”
Ava: “The light in the middle of the light bulb is brighter than it is on the ceiling or the floor or the walls.”
Me: So where is the light shining?
Ruby: “Everywhere.”
Me: Everywhere?
A: Well everywhere in the room its shining.
Me: Where is the light shining from. Does it start at the walls and move in, is it just here, does it have a place where it starts?”
Lucie: “The light is coming from the light on the lamp. And it shines in all of the room”
So our evidence that the light leaves a source in all directions was as follows:
-Light could be seen in all corners of the room.
-Light could be seen on the floor and ceiling of the room.
-The light came from the lamp (source) and then filled the room in all areas.
– Light can be envisioned as rays traveling in straight lines
For this idea the girls and I went outside the house to where a light post was shining light onto a wall of the barn and onto the ground. We then examined our shadows to see what we could find out about how light works. The following are observations made by the girls that allowed us to make connections to the idea that light can be envisioned as rays traveling in straight lines. They will be serving as evidence for this idea
-“When an object blocks the light it casts a shadow.”
-“Even if we move or change our spots in the light, our shadows always fall the same way. So the light is traveling in only that one way.”
-“If we stand outside the light and look we can see the edges of where the light shines because the light stand tunnels -focuses- the light into one spot, like a flashlight.
-When one girl stood in the light I handed a long yard stick to the other girls and asked them to make a series of lines from different positions ie. make a line with the yard stick from Lucie’s hand to the same spot on Shadow Lucie’s hand. The girls did so many times and ultimately decided that since the shadows blocked light in a straight line, that the light must be going in a straight line as well.
–For someone to see something, light has to travel to the person’s eyes.
For the purpose of our project it is important to note that I changed the order in which these experiments took place. I first worked with the girls on the idea for someone to see something, light has to travel to the person’s eyes. We then explored light bounces off of objects such as someone’s nose in many different directions.
For this experiment I had the girls return to the room in which we found out that light leaves a source in all directions. In this room I changed the lights multiple times and asked the girls questions; while doing so I had the girls also switch between covering and closing their eyes and opening their eyes. The following are a list of what was changed and what the girls’ answers were.
-Lucie covers and closes her eyes, but Ava and Ruby do not. I ask “who can see me? Raise your hand” Lucie is the only girl who does not raise her hand. I ask her: “why couldn’t you see me?” Lucie responds that she couldn’t see me because she “can’t see with her eyes closed.”
-Next, I had all three girls cover their eyes and asked if they could see me, the lights were on at this time. All three girls reported they could not see me.
– I then turned off the lights and had all three girls open their eyes and asked if they could see me. All three girls reported that no, they could not see me. When asked why Ava responded “ it’s too dark to see you.”
-I then turned on the light and asked the girls if they could see me with their eyes opened. All three girls said yes. When I asked them what they thought their eyes needed to see they responded “Light!” When I asked if they only needed to open their eyes to see they said “No, because we opened our eyes with no lights on and couldn’t see.” So I asked them again what was needed in order for eyes to see, the girls told me you must open your eyes and also have the lights on which means that our eyes need light to see.
– Light bounces off of objects such as someone’s nose in many different directions.
Since the girls had already made the connection that light is needed to see, and that it must travel to their eyes to see, this project was fairly easy. I turned off the light in the room and shined a flash light at one object at a time and asked questions as to what the girls saw. I then turned on the light and asked more questions to the girls. The following serves as our evidence for this idea.
– When the light is shined on one object such as Lucie’s teddy bear the girls could all see it. When I asked why that was the girls said “ because our eyes can only see what the light sends back to us, we can only see what is in the light, because our eyes need light to see.”
-I then turned on the light and asked what the girls could see, they said “everything.” When I asked why that was they said it was “because the lights are on.” I asked if this meant the light was traveling to their eyes like earlier and they said “Yes!”
-I then pointed to my nose and asked everyone who could see it to raise their hand. All three girls raised their hand.
-I asked the girls how they could see my nose and they said because the light was on it and coming back to their eyes. I asked how each girl could see it from where they were standing. Can the light reach all of those spots or does the light only bounce off of something in one direction?
After some thought and deliberation as well as Lucie shining a flashlight at my nose, the girls came to a conclusion. In order for all of them to see my nose in different spots, my nose must be bouncing back light to all of their eyes. This means that light bounces off of objects in many different directions.
–Two kinds of shadows
For this part of the experiment I had the girls return outside to the light post. I then asked a series of questions about shadows, as well as where shadows could be seen. The following is what was discovered and decided upon as evidence.
Me: What is a shadow?
Lucie: “A shadow is where something blocks the light from traveling any farther and reflects the light only backwards.”
Me: What does a shadow look like?
Ava: “ Shadows are darker than the parts where the light shines through. You can’t see them as much.”
-I then stood with my back to the light so my back would be lit up and my front would be shadowed. In front of me a shadow was cast on the ground. I asked the girls to come touch where they saw a shadow. All three touched the shadow on the ground.
– I then asked the girls again what shadows look like and the same answer was given. So I asked the girls to look for any other areas on me or near me that looked like a shadow. After some deliberation and much circling Ava exclaimed “Your face and Belly are dark, they don’t have light!” I asked if this counted as a shadow, Ava said “Yes.” The other two girls were unconvinced. So I asked Ava if she could explain what she had found.
-Ava explained that “(her) back is blocking the light from reaching to her front. A shadow is when something blocks the light and doesn’t let it go forwards. So (her) front is in shadow cause the light can’t reach there!”
-The girls then decided that in fact there were two kinds of shadows, one on the ground and one on the back of the object casting the shadow.
Physics Student, Fall, 2015
The students generate many ideas about light and shadows through such conversations, often exploring well beyond what they might have undertaken if simply given a set of directions in class. Also teaching in a non-threatening environment with friends or family members can enhance a prospective teacher’s confidence. As one student reflected, “During this experience I learned that teaching science is not as scary as I initially thought.”

